


Table of contents
Introduction
Have you ever visited someone's GitHub profile and noticed a brief introduction about them, just like this?

For the longest time, I thought adding one of those to my GitHub profile was a daunting task. I searched YouTube tutorials, but there seems to be a different approach to it while some are not beginner-friendly.
In the world of tech, presenting yourself as a developer is crucial. Your GitHub profile is your digital resume, and having a bio is like a professional handshake in the virtual realm. So, let me tell you, life in tech is much easier with guidance.
The beginning
I was determined to add that comprehensive bio to my GitHub profile. The first lesson I learned is simple yet powerful: if you're facing difficulties, don't hesitate to ask for help especially if you tried doing it yourself but it wasn't working out. By asking for help, I found a way to do it without confusion.
Getting Started
Here's how I did it, step by step:
Step 1: Create a GitHub repository if you don't have one already, ensure to name it after your GitHub Username.
Step 2: After creating the repository, you'll want to add a README file to it.
Step 3: You insert the bio into it, you can also add images and your social links.
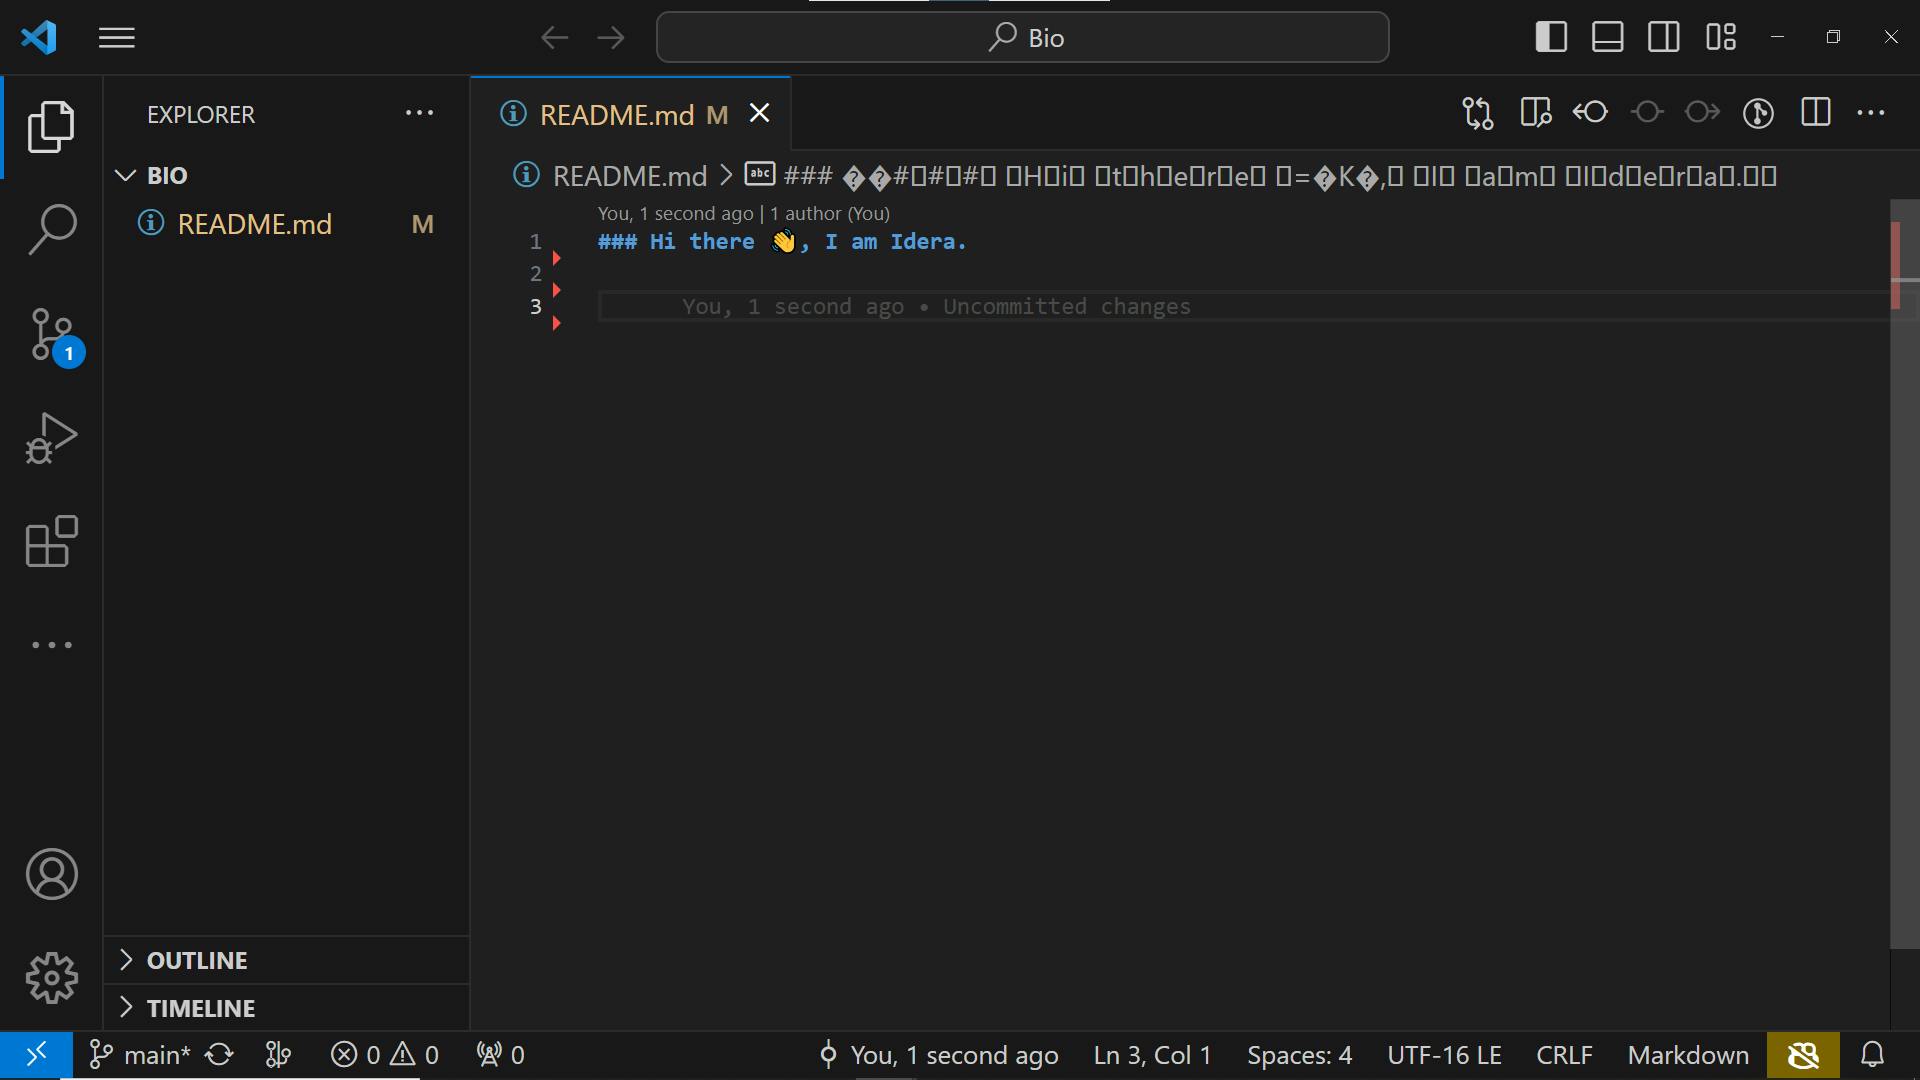
Step 4: Push the repository to GitHub.
Conclusion
Don't be afraid to ask. Adding a bio to your GitHub profile might seem like a small step, but it can make a big difference in how others perceive you in the tech community. So, go ahead and create that README file—it's your virtual introduction to the coding world.
Remember, every tech journey is easier with guidance, and your GitHub bio is one of the first steps in the right direction.